guide butcher

Becoming a Butcher: A Comprehensive Guide (Updated February 15, 2026)
Embarking on a butchery career requires dedication and skill; Range Meat Academy and M.E.A.T Ipswich offer valuable training,
while apprenticeships, like those in Bermuda, provide hands-on experience.
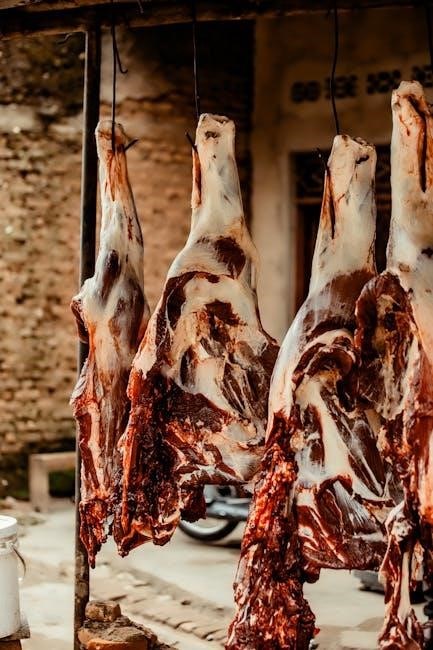
The art of butchery is a time-honored craft, evolving from a necessity to a respected profession. Historically, butchers were vital community members, providing essential protein sources. Today, the role has transformed, demanding a blend of traditional skills and modern knowledge. Becoming a butcher isn’t simply about cutting meat; it’s about understanding primal cuts, muscle structure, and responsible sourcing.
The profession offers diverse pathways, from formal schooling like Range Meat Academy’s online programs, to immersive apprenticeships, and even higher education in meat science. Breaking into the field can be challenging, but resources are available to kickstart your journey. A skilled butcher possesses not only technical expertise but also a commitment to food safety and customer service. The demand for quality meat and skilled butchers remains strong, ensuring a viable and rewarding career path for those passionate about this craft.
The Role of a Modern Butcher
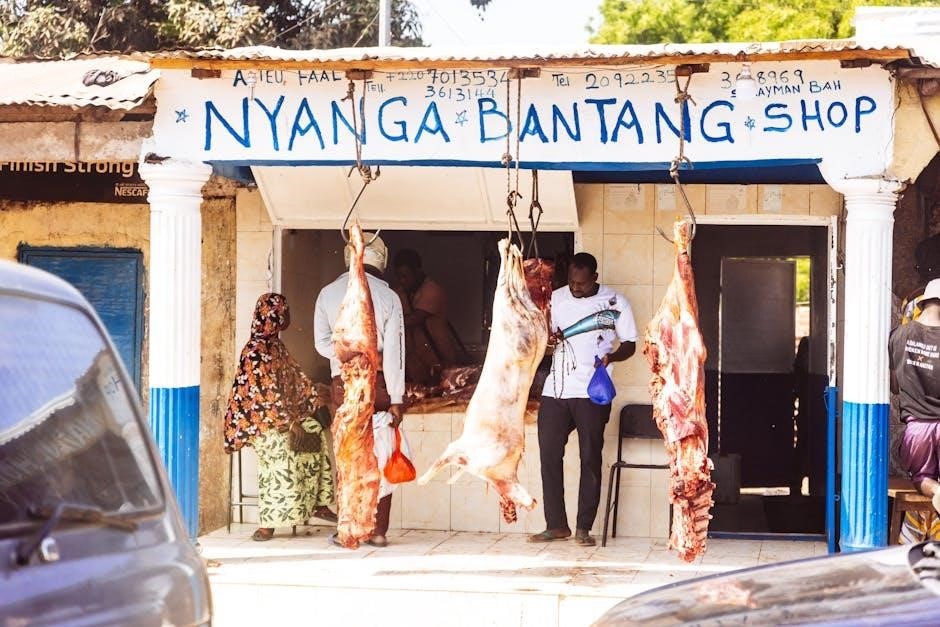
The modern butcher transcends the traditional image of simply preparing meat for sale. Today’s butcher is a culinary expert, a product knowledge specialist, and a customer service professional. They advise customers on optimal cuts for specific cooking methods, offer recipe suggestions, and ensure the highest standards of food safety and hygiene.
Beyond basic cutting, many butchers specialize in charcuterie, creating artisanal sausages, pates, and cured meats. Competition butchery, like the Young Butcher of the Year contest, showcases the skill and artistry within the profession. Continuous learning is crucial, with opportunities for skills bootcamps and ongoing training. A modern butcher understands sourcing, sustainability, and the importance of building relationships with local producers, offering a personalized and informed experience for every customer.
Essential Qualities of a Successful Butcher
A thriving butchery career demands a unique blend of skills and personal attributes. Exceptional knife skills are paramount, alongside a deep understanding of meat anatomy and cutting techniques. Physical stamina is crucial, as the work often involves standing for long periods and handling heavy cuts. However, technical proficiency is only part of the equation.
Successful butchers possess strong attention to detail, ensuring precision and minimizing waste. Excellent customer service skills are vital for building rapport and providing expert advice. A commitment to food safety and hygiene is non-negotiable. Furthermore, a willingness to learn, adapt to new techniques, and embrace continuous improvement is essential for long-term success in this evolving profession.

Butchery Education and Training Pathways
Numerous routes exist to enter the profession, from formal schools like M.E.A.T Ipswich to online programs such as Range Meat Academy,
and traditional apprenticeships.
Formal Butchery Schools and Academies
Dedicated butchery schools and academies provide intensive, hands-on training designed to rapidly develop core skills. These programs often cover everything from primal cuts and fabrication techniques to food safety and sanitation protocols. M.E.A.T Ipswich, with its 36 years of experience, stands out as a highly regarded training organization within the fresh food and meat industry, offering comprehensive courses for aspiring butchers.
Curricula typically include detailed instruction on various meat types – beef, pork, poultry, lamb, and more – alongside practical exercises in knife handling, grinding, slicing, and other essential techniques. Students learn to identify different muscle groups, assess meat quality, and create consistent, appealing cuts for retail or wholesale purposes. Furthermore, these academies often emphasize customer service skills and business management principles, preparing graduates for diverse roles within the meat industry.
Online Meat Industry Training Programs (e.g., Range Meat Academy)
For flexible learning, online programs offer a convenient pathway into the butchery profession. Range Meat Academy specifically caters to butchers, meat clerks, chefs, and industry professionals, delivering comprehensive training accessible anytime, anywhere. Their curriculum focuses on crucial skills like meat cutting, equipment operation, and stringent food safety standards.
These programs utilize step-by-step videos, multilingual lessons, and downloadable resources to facilitate effective learning. Certificate programs validate acquired knowledge and demonstrate commitment to professional development. Online learning breaks down barriers to entry, particularly for individuals seeking to upskill or transition careers. It’s a valuable first step, as acknowledged by industry insights – “Breaking into butchery can be hard. We’ve done the first step for you.”
Skills Bootcamps for Butchery
Skills Bootcamps represent an intensive, focused approach to acquiring practical butchery skills, specifically designed to bolster the hospitality sector’s efficiency. These programs deliver hands-on training, rapidly equipping individuals with the techniques needed to succeed in a demanding environment. They are a relatively short-term commitment, offering a quick route to employability or career advancement within the meat industry.
The emphasis is on practical application, ensuring participants can immediately contribute to a professional kitchen or butcher shop. Bootcamps often cover essential areas like primal cuts, portion control, and hygiene standards. M.E.A.T Ipswich, a highly regarded training organization with 36 years of experience, exemplifies this approach, delivering high-quality training in the fresh food and meat industry. They provide a concentrated learning experience.
Apprenticeships: A Traditional Route
Apprenticeships remain a cornerstone of butchery training, offering a time-honored pathway to mastery. This method combines practical, on-the-job experience with structured learning, allowing aspiring butchers to develop skills under the guidance of experienced professionals. The traditional route fosters a deep understanding of meat handling, cutting techniques, and customer service, building a solid foundation for a long-term career.
Recent examples demonstrate the continued value of apprenticeships; two Bermudians, Malcolm OMara and Kamesh Wilkinson, recently completed the initial phase of a two-year apprenticeship. This immersive approach allows for gradual skill development and a comprehensive grasp of the trade. Apprenticeships are invaluable for those seeking a thorough, practical education in butchery, blending theory with real-world application.
Finding Local Apprenticeship Opportunities
Locating a suitable apprenticeship requires proactive effort and networking. Begin by contacting local butcher shops directly, expressing your interest and inquiring about potential openings. Don’t hesitate to visit establishments in person, showcasing your enthusiasm and willingness to learn. Networking within the culinary community can also prove fruitful, as chefs and restaurant owners often have connections to local butchers.
Online resources can significantly aid your search. Range Meat Academy compiles lists of learning opportunities, including apprenticeships, providing a valuable starting point. Local job boards and industry-specific websites frequently advertise apprenticeship positions. Remember to tailor your applications to each opportunity, highlighting your passion for butchery and relevant skills. Persistence and a proactive approach are key to securing a local apprenticeship.
International Apprenticeship Programs
Expanding your search internationally opens doors to unique butchery traditions and techniques. Opportunities exist in countries renowned for their meat craftsmanship, offering immersive learning experiences. While more complex to arrange, these programs can provide a significant competitive edge.
Researching programs requires diligent effort. Consider countries with established meat industries and culinary schools offering butchery apprenticeships. Investigate visa requirements and language barriers before applying. The recent recognition of Bermudian butchers completing training highlights the value of structured programs. Networking with international culinary organizations can uncover hidden opportunities. Be prepared for a significant commitment, including relocation and cultural adaptation, but the rewards can be substantial for a dedicated aspiring butcher.
Higher Education Options in Meat Science
For a comprehensive understanding of the meat industry, pursuing higher education in Meat Science is a valuable pathway. These programs delve into the scientific principles underpinning meat production, processing, and quality control, extending far beyond basic cutting techniques.
University programs often cover animal physiology, microbiology, food safety, and sensory evaluation. This knowledge base equips butchers with a deeper understanding of their craft, enabling them to optimize meat handling and create innovative products. While not always directly focused on practical butchery, the scientific foundation is invaluable for career advancement. Consider programs that offer internships or practical components to complement theoretical learning. This academic route is ideal for those aspiring to leadership roles or specialized areas like charcuterie development.
Core Butchery Skills and Techniques
Mastering knife skills is paramount, alongside precise cutting techniques for beef, pork, poultry, lamb, and other meats, ensuring quality and yield.
Basic Knife Skills for Butchers
Proficiency with knives is the cornerstone of butchery, demanding rigorous training and consistent practice. A butcher must learn to maintain a razor-sharp edge, understanding the nuances of different blade types – from boning knives to cleavers.
Essential techniques include the proper grip for control and safety, mastering various cuts like slicing, dicing, and disjointing. Learning to follow the grain of the meat is crucial for tenderness and presentation.
Beyond the physical skills, butchers must develop an understanding of knife angles and pressure to maximize efficiency and minimize waste. Regular honing and sharpening are non-negotiable, ensuring both safety and precision. Ultimately, skilled knife work translates to higher quality cuts and a more efficient workflow.
Meat Cutting Techniques: Beef
Beef butchery demands a detailed understanding of anatomy and primal cuts. Breaking down a carcass involves separating it into large sections – the chuck, rib, loin, round, flank, and plate – each yielding various retail cuts.
Techniques include square trimming to maximize yield, precise fat trimming for flavor and appearance, and bone-in versus boneless cutting based on customer preference. Butchers must master the art of identifying muscles and separating them cleanly.
Specific cuts like ribeye, tenderloin, sirloin, and brisket require unique approaches. Understanding marbling and grain direction is vital for tenderness. Proper aging techniques also influence the final product, enhancing flavor and texture. Skillful beef butchery maximizes value and delivers premium cuts.
Meat Cutting Techniques: Pork
Pork butchery requires precision due to its layered muscle structure. The process begins with breaking down the carcass into primal cuts: shoulder (Boston butt & picnic), loin, belly, and leg (ham). Each section offers diverse retail options.
Techniques involve careful skinning, boning, and trimming of fat, balancing yield with presentation. Mastering the separation of muscles like the tenderloin and creating consistent pork chops is crucial.
Specific cuts like spareribs, bacon, and prosciutto demand specialized methods. Understanding the impact of curing and smoking on pork quality is essential. Skilled pork butchery maximizes the value of the animal, delivering flavorful and versatile cuts to consumers.
Meat Cutting Techniques: Poultry
Poultry butchery demands speed and efficiency, focusing on maximizing yield and minimizing waste. Whole birds – chicken, turkey, duck – are broken down into standard parts: breasts, legs, thighs, wings, and backs. Precise knife work is vital for clean separations.
Techniques include disjointing limbs, skinning, boning (both bone-in and boneless options), and trimming excess fat. Understanding the anatomy of the bird is key to efficient cutting. Skilled butchers can create value-added products like stuffed breasts or deboned legs.
Proper handling maintains food safety and presentation. Mastering poultry butchery requires practice and attention to detail, delivering consistently high-quality portions for consumers.
Meat Cutting Techniques: Lamb & Other Meats
Lamb butchery involves breaking down carcasses into primal cuts like the leg, loin, shoulder, and rack. Precise trimming and boning are crucial, yielding popular cuts like chops, roasts, and shanks. Understanding muscle structure optimizes yield and minimizes waste.
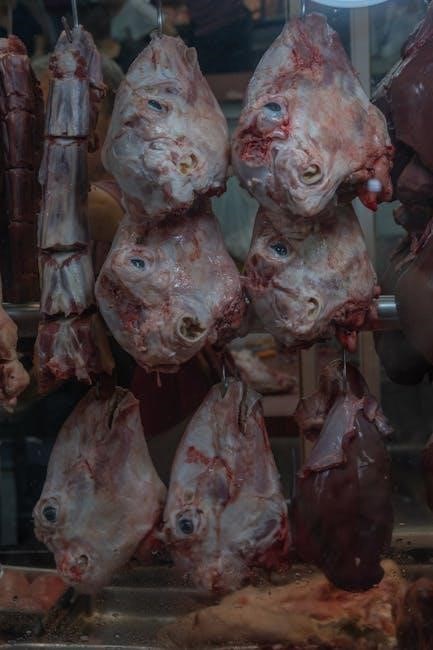
Beyond lamb, butchers often handle game meats – venison, rabbit – and specialty animals. These require adapting techniques based on anatomy and muscle composition. Proper aging enhances flavor and tenderness.
Skillful butchers can create unique cuts and value-added products, catering to diverse customer preferences. Maintaining hygiene and food safety standards is paramount when handling various meat types, ensuring quality and consumer trust.
Food Safety and Hygiene in Butchery
Maintaining impeccable hygiene and adhering to strict food safety regulations are non-negotiable; proper handling and storage prevent contamination,
safeguarding public health and product quality.
Understanding Food Safety Regulations
Navigating food safety regulations is paramount for any butcher, ensuring compliance with local, state, and federal guidelines. These regulations, designed to protect consumers, cover every aspect of meat handling, from sourcing and processing to storage and display. Butchers must be thoroughly familiar with Hazard Analysis and Critical Control Points (HACCP) principles, identifying potential hazards and implementing preventative measures.
Temperature control is critical, with strict guidelines for maintaining safe chilling and freezing temperatures to inhibit bacterial growth. Proper labeling, including sell-by dates and allergen information, is also essential. Regular inspections by health authorities are commonplace, and butchers must maintain detailed records of temperature logs, cleaning schedules, and sanitation practices. Staying updated on evolving regulations through industry associations and training programs is vital for continued compliance and maintaining a safe food supply.
Proper Handling and Storage of Meat
Maintaining meat integrity demands meticulous handling and storage protocols. From receiving deliveries, butchers must verify temperatures and inspect for signs of spoilage. Upon arrival, meat should be promptly refrigerated or frozen, adhering to strict temperature guidelines to minimize bacterial growth. Cross-contamination is a significant concern; dedicated cutting boards and utensils for raw and cooked meats are essential.
Proper wrapping and labeling are crucial for preserving freshness and preventing freezer burn. FIFO (First In, First Out) stock rotation ensures older products are used before newer ones. Storage areas must be clean, well-ventilated, and protected from pests. Regular monitoring of temperatures and humidity levels is vital. Following these practices not only ensures food safety but also preserves the quality and appeal of the meat products.
Maintaining a Clean and Sanitary Work Environment
A pristine workspace is paramount in butchery, directly impacting food safety and product quality. Daily cleaning and sanitizing of all surfaces – cutting boards, counters, floors, and equipment – are non-negotiable. This includes a thorough breakdown and cleaning of machinery like grinders and slicers. Regular disinfection with approved sanitizers effectively eliminates harmful bacteria.
Personal hygiene is equally critical; butchers must adhere to strict handwashing protocols, wear clean uniforms and aprons, and utilize hair restraints. Proper waste disposal systems are essential to prevent contamination and attract pests. Implementing a robust cleaning schedule and consistently monitoring sanitation practices are vital components of a safe and hygienic butchery operation, safeguarding both consumers and staff.
Butchery Equipment and Tools
Essential tools include knives, grinders, and slicers; proper maintenance ensures longevity and safety, while efficient machinery boosts productivity in the butchery.
Essential Cutting Tools
A butcher’s toolkit is defined by precision and quality. The boning knife, with its flexible blade, expertly separates meat from bone, while the breaking knife tackles larger cuts with robust efficiency. A chef’s knife serves as an all-purpose workhorse, handling various tasks. Scimitar knives excel at trimming silver skin and fat.
Steel is crucial for maintaining a razor-sharp edge, honed regularly with a sharpening stone. Cleavers deliver powerful chops through bone and tough joints. Filleting knives, boasting long, thin blades, are ideal for fish and delicate cuts. Beyond the blades, tools like meat hooks, saws, and portion scales are indispensable. Investing in high-quality tools isn’t merely a purchase; it’s an investment in skill, safety, and the final product’s presentation.
Grinders, Slicers, and Other Machinery
Modern butchery extends beyond hand skills, incorporating powerful machinery; Meat grinders efficiently transform larger cuts into ground meat, essential for sausages and patties. Commercial-grade slicers ensure uniform portions of deli meats and cooked products, enhancing presentation and consistency. Band saws rapidly process bones and frozen meats, increasing productivity.
Vacuum packaging machines extend shelf life and maintain freshness, crucial for retail operations. Tenderizers mechanically break down muscle fibers, improving texture. Cube steak machines create uniformly tenderized cuts. Proper training and adherence to safety protocols are paramount when operating this equipment. Regular maintenance, including cleaning and blade sharpening, guarantees optimal performance and longevity of these vital tools.
Equipment Maintenance and Safety
Maintaining butchery equipment is critical for both safety and efficiency. Regular cleaning prevents bacterial growth and ensures hygienic operation. Sharpening knives frequently reduces the force needed for cuts, minimizing strain and risk of accidents. Grinders and slicers require disassembly and thorough cleaning after each use, following manufacturer guidelines.
Band saws demand blade tension checks and lubrication. Always use appropriate personal protective equipment (PPE), including cut-resistant gloves and safety glasses. Lockout/tagout procedures must be followed during maintenance to prevent accidental activation. Regular inspections identify worn parts needing replacement. Prioritizing safety training and adherence to protocols minimizes workplace injuries and extends the lifespan of valuable equipment.
Career Advancement and Specialization
Butchers can progress to head butcher roles or specialize in charcuterie, while competition butchery showcases skills and continuous learning is paramount for growth.
Becoming a Head Butcher or Manager
Ascending to a head butcher or managerial position signifies mastery of the craft and leadership capabilities. This progression demands not only exceptional cutting skills, honed through experience and potentially specialized training, but also a comprehensive understanding of meat management, inventory control, and cost optimization.
Effective head butchers oversee all aspects of the butchery operation, ensuring adherence to stringent food safety standards and maintaining a consistently high level of product quality. They are responsible for training and mentoring junior staff, fostering a positive and productive work environment.
Furthermore, managerial duties often extend to customer service, building relationships with clients, and potentially even contributing to menu development or product sourcing. Strong communication, organizational, and problem-solving skills are crucial for success in these roles, alongside a continued commitment to professional development within the meat industry.
Specializing in Charcuterie
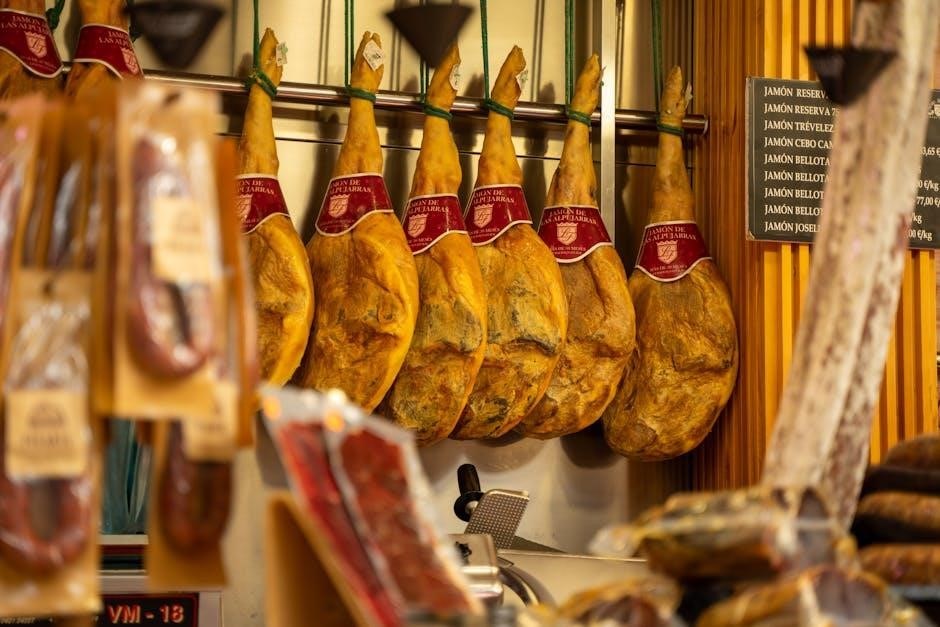
Charcuterie represents a fascinating and increasingly popular specialization within the butchery profession. It extends beyond basic meat cutting to encompass the art of curing, smoking, and transforming meats into delectable delicacies like sausages, pâtés, terrines, and cured hams. Mastering charcuterie requires a deep understanding of meat science, fermentation processes, and spice blending.
Butchers pursuing this path often undertake specialized training, workshops, or apprenticeships focused on traditional charcuterie techniques. They learn to control temperature, humidity, and microbial activity to create safe and flavorful products.
A successful charcutier possesses creativity, precision, and a commitment to sourcing high-quality ingredients. This specialization offers opportunities to create unique products, cater to discerning palates, and potentially establish a niche market within the broader culinary landscape.
Competition Butchery and Skill Demonstrations
Competition butchery showcases the pinnacle of skill, speed, and precision within the trade. These events, like the Young Butcher of the Year competition, challenge butchers to demonstrate their expertise in various cutting, trimming, and presentation techniques under intense time pressure and public scrutiny.
Skill demonstrations are also crucial, allowing experienced butchers to share their knowledge and inspire the next generation. These events often involve complex cuts, creative displays, and explanations of techniques.
Recent highlights include Ollie, a 16-year-old, winning a final against Kieran Thomas, proving a “cut above the rest” at an international event. Such competitions elevate the profession and encourage continuous improvement, pushing butchers to refine their craft and embrace innovation.
Recent Competition Highlights (e.g., Young Butcher of the Year)
The world of competitive butchery has seen exciting developments recently, showcasing exceptional talent and dedication. Notably, Ollie, a young butcher from Neil Powell Butchers in Hay-on-Wye, achieved a significant victory. He triumphed over Kieran Thomas from Albert Rees Ltd in a thrilling final competition, demonstrating remarkable skill and precision.
This win highlights the rising caliber of young butchers entering the profession and the importance of platforms like these for skill development. Mr. Graham also recently impressed, earning recognition as a protein professional through his expertise.
These events not only celebrate individual achievement but also inspire others to pursue excellence in butchery, fostering a culture of continuous learning and innovation within the industry.
The Importance of Continuous Learning
The butchery profession, while steeped in tradition, demands a commitment to ongoing education and skill refinement. A seasoned butcher once wisely noted that initial training, even a week-long course, doesn’t guarantee proficiency; true mastery requires persistent effort.
Resources like Range Meat Academy and M.E.A.T Ipswich provide avenues for expanding knowledge in meat cutting, food safety, and industry best practices. Participating in competitions, as seen with the Young Butcher of the Year and other skill demonstrations, offers invaluable experience and exposure to new techniques.
Staying abreast of evolving regulations and consumer preferences is crucial for success. Continuous learning ensures butchers remain adaptable, innovative, and capable of delivering high-quality products.