nesco american harvest food dehydrator manual

NESCO American Harvest Food Dehydrator Manual: A Comprehensive Guide
This manual provides detailed instructions for NESCO American Harvest dehydrators, including models FD-1000, FD-50, and FD-61, covering operation, recipes, and care.
NESCO American Harvest dehydrators represent a long-standing tradition of quality and innovation in food preservation. For decades, these dehydrators have empowered home cooks to create healthy, delicious snacks and preserve seasonal harvests. This guide serves as a comprehensive resource for both novice and experienced users, unlocking the full potential of your dehydrator.
Whether you’re aiming to make fruit leather, vegetable chips, or savory jerky, NESCO offers a model to suit your needs. ManualsLib and the Internet Archive host valuable resources, including downloadable manuals for popular models like the FD-1000 and FD-61. Understanding your dehydrator’s capabilities is the first step towards enjoying the benefits of homemade, preserved foods. Explore recipe resources and communities online to expand your culinary horizons!
Understanding Your Model: FD-1000, FD-50, FD-61 & Others
NESCO American Harvest offers a diverse range of dehydrator models, each with unique features and capacities. The FD-1000, a popular choice, provides ample space for large-batch dehydration. The FD-50 and FD-61 are more compact, ideal for smaller kitchens or individual use. Regardless of your model, accessing the correct manual is crucial for optimal performance.
Resources like ManualsLib provide downloadable PDFs for specific models, including the FD-50T Snackmaster Pro. These manuals detail component identification, assembly instructions, and safety precautions. While core functionality remains consistent across models, understanding specific features – like temperature controls or timer settings – ensures efficient and safe operation. Familiarize yourself with your model’s specifications to maximize its potential.
Key Features of American Harvest Dehydrators
American Harvest dehydrators boast several key features designed for convenience and efficiency. A primary benefit is their ability to create healthy, preservative-free snacks like fruit leather and jerky. These dehydrators utilize a fan-forced airflow system, ensuring even drying across all trays.
Many models, including the Snackmaster series, offer adjustable temperature controls, allowing for precise dehydration of various foods. The inclusion of solid trays promotes versatility, accommodating fruits, vegetables, and meats. Furthermore, these dehydrators are relatively energy-efficient and easy to clean. Accessing the user manual unlocks the full potential of these features, guiding users through optimal settings and techniques for superior results.
Setting Up Your Dehydrator
Proper setup involves unboxing components, assembling the unit correctly, and thoroughly cleaning all parts before the initial use, as detailed in the manual.
Unboxing and Component Identification
Carefully unpack your NESCO American Harvest dehydrator, ensuring all components are present. The box should contain the dehydrator base, multiple drying trays (typically 5-12, depending on the model – FD-1000, FD-50, FD-61 variations exist), a flexible food-grade drying sheet (often for fruit leather), and this comprehensive instruction/recipe manual.
Verify the presence of the power cord and check for any visible damage to the unit or its parts. Familiarize yourself with each component’s purpose. The trays are designed for even airflow, and the base houses the heating element and fan. Refer to the diagrams within the manual for clear identification of each part, aiding in correct assembly and future maintenance. Retain the packaging for potential warranty claims or storage.
Assembling the Dehydrator
Assembly of your NESCO American Harvest dehydrator is straightforward. Begin by placing the dehydrator base on a stable, level surface. Next, stack the drying trays onto the central post, ensuring they sit securely. The trays are typically interchangeable, but proper stacking is crucial for optimal airflow.
The flexible drying sheets are placed directly onto the trays for items like fruit leather or sticky foods, preventing them from falling through. Ensure the power cord is not connected during assembly. Refer to the included diagrams for visual guidance. A secure fit of each tray is essential for efficient dehydration. Avoid overstacking, as this can hinder airflow and prolong drying times.
Initial Cleaning and Preparation
Before your first use, thoroughly clean all detachable parts of your NESCO American Harvest dehydrator with warm, soapy water. This includes the trays, drying sheets, and the base; Avoid abrasive cleaners, as they can damage the surfaces. Rinse all components completely and allow them to air dry.
Wipe down the dehydrator base with a damp cloth. Ensure no water enters the electrical components. Once dry, inspect all parts for any damage. It’s recommended to run the dehydrator empty for 30 minutes to eliminate any manufacturing odors. This initial cleaning prepares the unit for safe and effective food dehydration, ensuring optimal hygiene and performance from the start.
Operating Instructions
Proper operation involves powering on the unit, setting the desired temperature, and carefully loading trays for optimal airflow during the dehydration process.
Powering On and Temperature Control
To begin, ensure the dehydrator is properly assembled and plugged into a grounded electrical outlet. Most NESCO American Harvest models feature a simple on/off switch, often accompanied by temperature control settings. The temperature dial allows you to select the appropriate heat level for different food types – fruits, vegetables, or meats.
Lower temperatures (95°F ౼ 135°F) are ideal for delicate fruits and vegetables, preserving enzymes and nutrients. Higher temperatures (160°F+) are necessary for safely dehydrating meats like jerky, ensuring proper pathogen elimination.
Always consult recipe guidelines for specific temperature recommendations. Some models may have preset temperature settings for convenience. Monitor the dehydrator during initial operation to confirm accurate temperature control and consistent performance.
Loading Trays for Optimal Airflow
Proper tray loading is crucial for even dehydration. Avoid overcrowding trays, as this restricts airflow and can lead to uneven drying and potential spoilage. Arrange food in a single layer, ensuring pieces do not overlap.
Rotate trays periodically during the dehydration process, especially if your dehydrator doesn’t have a fan, to promote consistent results. Utilize all available trays to maximize capacity, but maintain adequate spacing between food items.
Consider the food type when loading; smaller pieces generally require less drying time. Leave gaps between pieces to allow hot air to circulate freely. Proper airflow ensures efficient moisture removal and prevents mold growth, resulting in high-quality dehydrated foods.
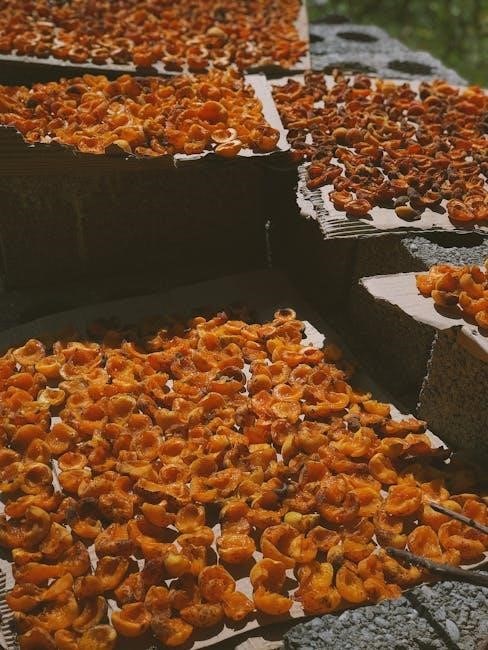
Dehydration Times for Various Foods
Dehydration times vary significantly based on food type, thickness, and humidity. Fruits generally take 6-12 hours, while vegetables require 8-16 hours. Jerky preparation can range from 4-8 hours, depending on meat thickness and desired chewiness.
These are estimates; always check for dryness. Fruits should be leathery and pliable, vegetables brittle, and jerky should bend without breaking. Initial slicing thickness greatly impacts drying duration – thinner slices dehydrate faster.
Refer to specific recipes for tailored times. Monitor progress and adjust accordingly. Higher humidity levels will extend drying times, while lower humidity shortens them. Consistent monitoring is key to achieving optimal results;

Food Preparation for Dehydration
Proper food preparation is crucial for successful dehydration, involving slicing, pre-treatment methods, and selecting optimal food varieties for best results.
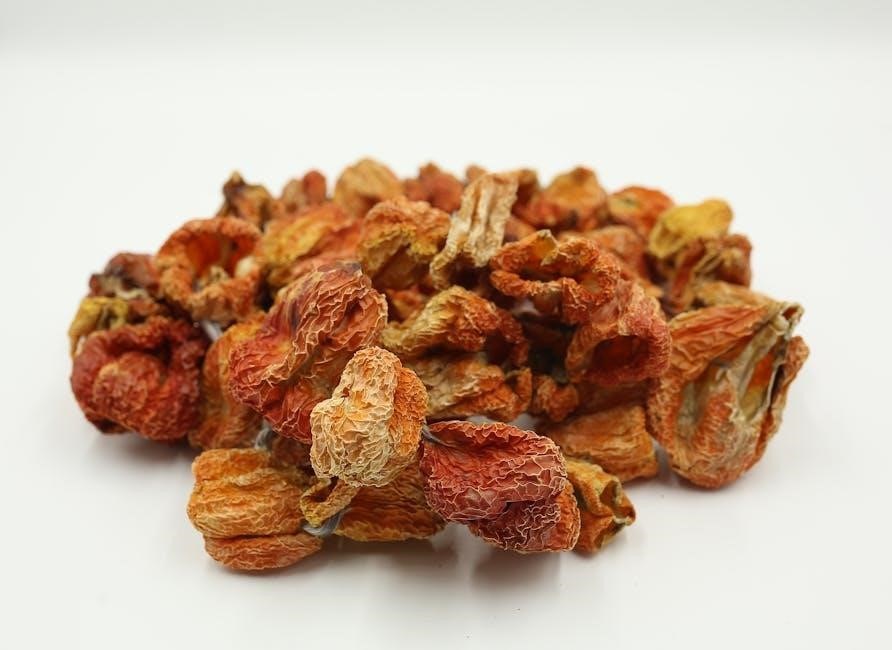
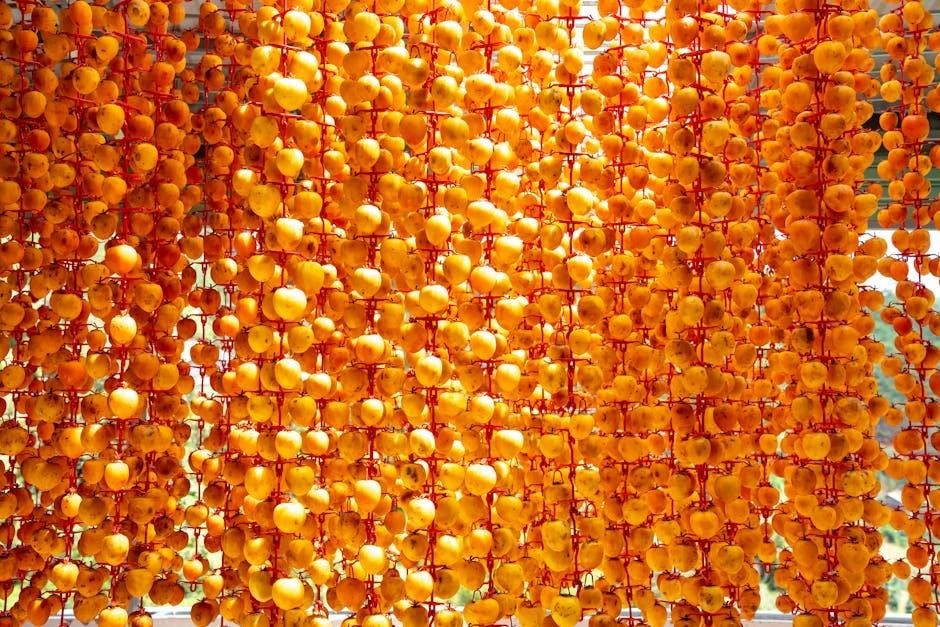
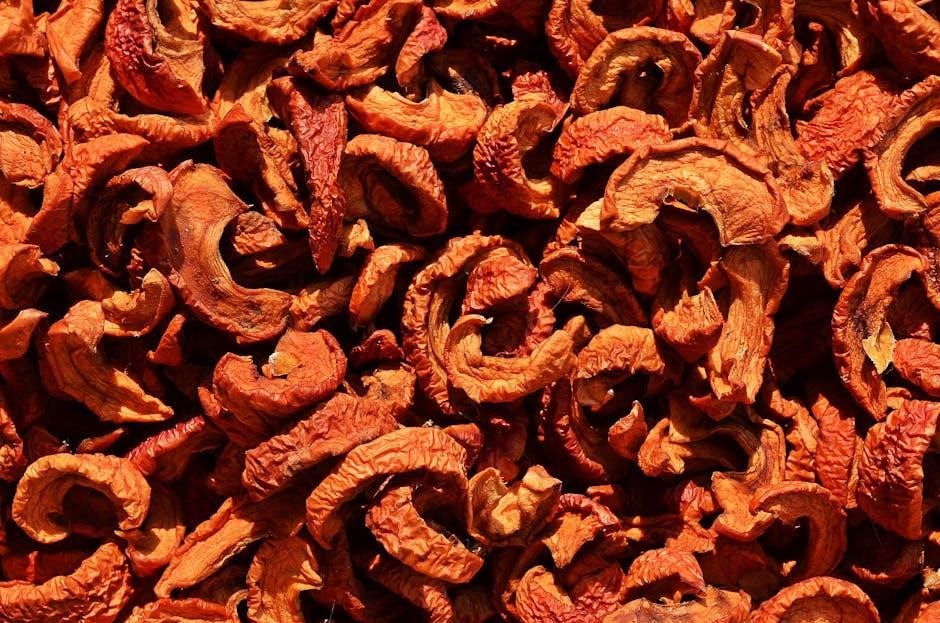
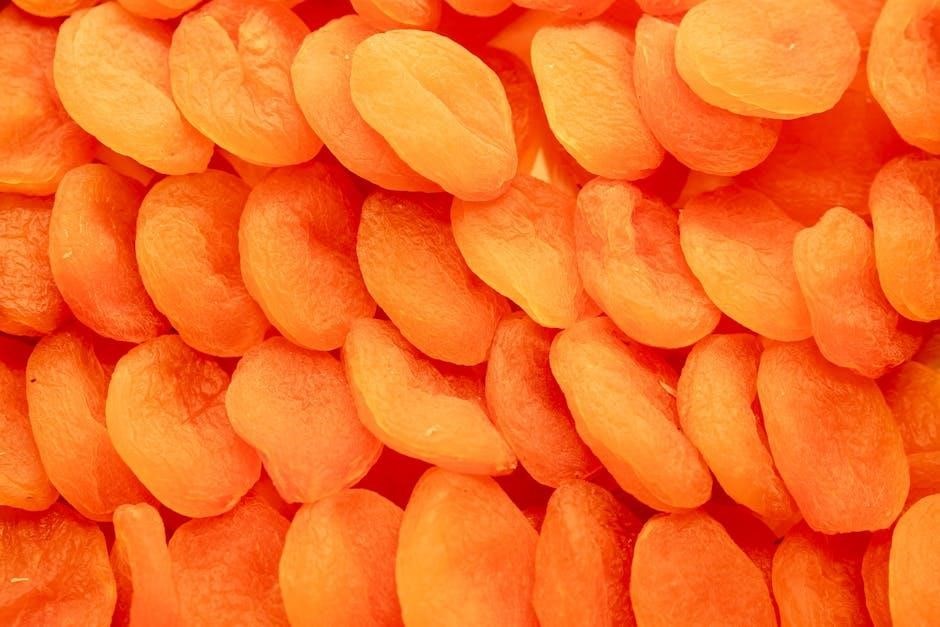
Fruits: Slicing, Pre-treatment & Best Varieties
Preparing fruits for dehydration requires careful slicing to ensure even drying. Aim for consistent thickness, typically ¼ inch, for optimal results. Pre-treatment helps prevent browning and preserves flavor; options include dipping in lemon juice, ascorbic acid (Vitamin C), or a commercial fruit preservative;
Excellent fruit choices for dehydration include apples, bananas, mangoes, peaches, pears, and pineapple. Berries, like strawberries and blueberries, can also be dehydrated, though they may require a longer drying time. Remove pits and cores before slicing. Consider the natural sugar content – fruits with higher sugar levels will dehydrate faster. Proper preparation maximizes flavor and extends shelf life.
Vegetables: Preparation Techniques & Suitable Choices
Dehydrating vegetables necessitates specific preparation techniques for best results. Wash vegetables thoroughly and trim any unwanted parts. Slicing or dicing into uniform sizes – around ¼ inch – promotes even drying. Blanching, briefly immersing in boiling water then shocking in ice water, is crucial for many vegetables.
Blanching stops enzyme activity, preserving color, flavor, and nutrients. Suitable vegetables include carrots, green beans, bell peppers, onions, and tomatoes. Mushrooms also dehydrate well. Avoid over-blanching, as this can make vegetables mushy. Proper preparation ensures a flavorful and long-lasting dehydrated product, perfect for snacks or adding to soups and stews.
Meats: Jerky Making – Safety & Marinades
Creating jerky requires strict adherence to food safety guidelines. Begin with lean cuts of meat – beef, turkey, or venison work well. Partially freezing the meat before slicing into ¼ inch strips makes it easier to handle. Marinades are essential for flavor and tenderization; use combinations of soy sauce, Worcestershire sauce, spices, and seasonings.
Always marinate meat in the refrigerator for at least four hours, or preferably overnight. Before dehydrating, pat the meat dry to remove excess marinade. Maintaining a dehydrator temperature of 160°F (71°C) is crucial to eliminate harmful bacteria. Proper preparation and temperature control guarantee safe and delicious jerky.
Recipes & Usage
Explore diverse recipes for fruit leather, vegetable chips, and various jerky types, utilizing your NESCO dehydrator for healthy and flavorful homemade snacks.
Fruit Leather Recipes
Creating fruit leather with your NESCO dehydrator is a fantastic way to preserve seasonal flavors and enjoy a healthy, portable snack. Begin with approximately 2-3 cups of your favorite fruit – applesauce, pureed berries, peaches, or mangoes work exceptionally well. For enhanced flavor, consider adding a squeeze of lemon juice or a dash of cinnamon.
Spread the fruit puree thinly and evenly (about 1/8 to 1/4 inch thick) onto a non-stick dehydrator tray lined with plastic wrap or a fruit leather tray. Dehydrate at 135°F (57°C) for 4-8 hours, or until the leather is no longer sticky to the touch. Drying time will vary depending on the fruit and humidity. Once cooled, peel the leather from the tray and roll it up for convenient snacking. Experiment with fruit combinations for unique and delicious results!
Vegetable Chip Recipes
Dehydrating vegetables into crispy chips is a healthy alternative to store-bought snacks, and your NESCO American Harvest dehydrator makes it simple! Popular choices include zucchini, sweet potatoes, beets, kale, and carrots. Slice vegetables thinly and uniformly – a mandoline slicer is highly recommended for consistent results.
For best flavor, lightly toss the slices with olive oil, salt, pepper, and your favorite seasonings (garlic powder, paprika, or herbs). Arrange the slices in a single layer on dehydrator trays, ensuring good airflow. Dehydrate at 125°F (52°C) for 6-12 hours, or until crispy. Check frequently towards the end of the drying process to prevent burning. Store in an airtight container for maximum freshness and crunch.
Jerky Recipes: Beef, Turkey, & More
Creating delicious and safe jerky is a highlight of using your NESCO American Harvest dehydrator. Beef is classic, but turkey, venison, and even salmon work wonderfully! Begin with lean cuts of meat, partially frozen for easier slicing. Marinate for at least 4 hours – soy sauce, Worcestershire sauce, brown sugar, and spices are excellent base flavors.
Pre-treat meat by blanching briefly in boiling water to destroy surface bacteria. Arrange marinated slices on dehydrator trays, avoiding overlap. Dehydrate at 160°F (71°C) for 4-8 hours, depending on thickness and desired chewiness. Jerky is done when it bends without breaking. Proper food safety is crucial; ensure internal temperature reaches 160°F.
Maintenance & Troubleshooting
Regular cleaning ensures optimal performance. Address common issues like uneven drying or power failures with our guide, and learn long-term storage tips.
Cleaning Procedures for All Parts
Maintaining cleanliness is crucial for food safety and dehydrator longevity. After each use, disconnect the unit and allow all parts to cool completely. The trays and inserts are typically dishwasher safe, but hand washing with warm, soapy water is recommended for delicate pieces.
For the base, wipe down the exterior with a damp cloth. Avoid immersing the base in water, as this can damage the electrical components. Stubborn food residue can be loosened with a paste of baking soda and water. Ensure all parts are thoroughly dried before reassembling.
Periodically inspect the fan for dust accumulation and clean as needed. A clean dehydrator ensures efficient operation and prevents cross-contamination.
Troubleshooting Common Issues (Uneven Drying, No Power)
Uneven drying often results from overcrowding trays; ensure adequate airflow between food pieces. Rotating trays midway through the dehydration process can also promote consistency. If the dehydrator lacks power, first verify the outlet is functioning correctly. Check the power cord for any damage and ensure it’s securely connected.
A tripped circuit breaker could also be the culprit; reset if necessary. If issues persist, examine the unit for any visible obstructions hindering fan operation.
For consistent results, avoid placing extremely wet foods directly onto the trays – pre-drying can help. If problems continue, consult the full manual or NESCO customer support.
Long-Term Storage & Care
To ensure longevity, thoroughly clean all dehydrator parts after each use, using warm, soapy water. Avoid abrasive cleaners that could damage surfaces. Store the unit in a cool, dry place, protected from direct sunlight and extreme temperatures. Detach the power cord and store it separately to prevent damage.
Regularly inspect the power cord for fraying or cracks, and replace if necessary. Proper storage prevents dust accumulation and potential malfunctions. Avoid storing food directly inside the dehydrator for extended periods.
Consult the full manual for detailed cleaning instructions and warranty information.
Safety Precautions
Always follow electrical safety guidelines and food safety practices during dehydration. Proper usage prevents damage to the unit and ensures safe operation.
Electrical Safety Guidelines
To ensure safe operation of your NESCO American Harvest dehydrator, always adhere to these electrical safety guidelines. Never operate the appliance with a damaged cord or plug; immediately discontinue use and contact NESCO customer support. Avoid using extension cords if possible, and if necessary, ensure it’s appropriately rated for the dehydrator’s wattage.
Do not immerse the dehydrator base in water or any other liquid. Keep the appliance away from heat sources and flammable materials. Always unplug the dehydrator from the outlet when not in use, before cleaning, and during assembly or disassembly. Regularly inspect the power cord for any signs of wear or damage. Improper electrical handling can lead to hazards, so prioritize safety.
Food Safety During Dehydration
Maintaining food safety is paramount when using your NESCO American Harvest dehydrator. Thoroughly wash all fruits, vegetables, and meats before preparation. Pre-treating fruits can inhibit oxidation and preserve color, but follow recommended guidelines. Ensure meats are lean and marinated properly to prevent bacterial growth during jerky making.
Dehydration temperatures must be sufficient to eliminate harmful microorganisms. Properly dried food should be leathery or brittle, with no visible moisture. Store dehydrated foods in airtight containers in a cool, dark, and dry place. Regularly check stored foods for any signs of spoilage before consumption. Following these guidelines ensures safe and enjoyable dehydrated snacks.
Proper Usage to Avoid Damage
To ensure the longevity of your NESCO American Harvest dehydrator, avoid overloading the trays. Proper airflow is crucial for even drying, and overcrowding restricts circulation. Never immerse the base in water or any other liquid; always wipe clean with a damp cloth. Do not operate the dehydrator without trays in place, as this can damage the heating element.
Avoid using abrasive cleaners or scouring pads, as they can scratch the surfaces. Ensure the dehydrator is placed on a stable, heat-resistant surface during operation. Regularly inspect the power cord for any signs of damage and discontinue use if frayed. Following these precautions will help prevent damage and maintain optimal performance.
Resources & Further Information
Access downloadable manuals for FD-1000, FD-50, and FD-61 models online. Explore recipe resources, communities, and NESCO customer support for assistance.
Downloading Manuals (FD-1000, FD-50, FD-61)
Finding your NESCO American Harvest dehydrator manual is straightforward! ManualsLib offers a downloadable PDF version of the FD-1000 care/use & recipe manual, also compatible with FD-50 and FD-50T models. These comprehensive guides detail everything from initial setup to advanced jerky-making techniques.
For the FD-61 500-Watt model, a detailed instruction manual is available, covering setup, operation, maintenance, troubleshooting, and complete product specifications. These resources ensure you can maximize your dehydrator’s potential. Accessing these manuals provides valuable insights into safe and efficient operation, extending the life of your appliance and guaranteeing delicious, preserved foods. Don’t hesitate to utilize these readily available guides!
Online Recipe Resources & Communities
Expand your culinary horizons with a wealth of online resources! Recipelink.com provides a manual and recipe book specifically for NESCO American Harvest Snackmaster dehydrators, offering a starting point for delicious creations. Explore numerous online communities dedicated to food dehydration, where enthusiasts share tips, tricks, and innovative recipes.
Discover healthy snack ideas, including dehydrator recipes and instructions from Healthy Eaters. These platforms allow you to connect with fellow dehydrator users, exchange experiences, and find inspiration for your next project. From fruit leather to savory jerky, the possibilities are endless. Embrace the community and unlock the full potential of your NESCO dehydrator!
Contacting NESCO Customer Support
Need assistance with your NESCO American Harvest dehydrator? Direct support is crucial for resolving any issues or clarifying operational questions. While specific contact details aren’t explicitly provided in the sourced information, accessing the official NESCO website is the primary recommended step.
There, you should find a dedicated “Contact Us” section, offering options like phone support, email inquiry forms, or a live chat feature. Downloading the manual for your specific model (FD-1000, FD-50, FD-61, etc.) from ManualsLib can also preemptively answer many common questions. Prior to contacting support, having your model number readily available will expedite the assistance process.