oster ice cream maker instruction manual

Oster Ice Cream Maker Instruction Manual: An Overview
This manual provides essential guidance for operating your Oster ice cream maker, covering assembly, operation, troubleshooting, and care․
It ensures delightful homemade frozen treats, referencing models like FRSTIC-WDB and wooden bucket versions․
Understanding Your Oster Ice Cream Maker
Your Oster ice cream maker is designed for creating delicious frozen desserts at home, including ice cream, frozen yogurt, and sorbet․ Different models exist, from classic wood bucket designs to modern electric versions like the FRSTIC-WDB․
The core principle involves freezing a bowl, then churning a pre-mixed base to create a smooth, frozen consistency․
Understanding the components – the motor base, freezing bowl, dasher (churning blade), and lid – is crucial․ Some models, particularly vintage kitchen centers, may include various attachments․
The machine operates by agitating the ice cream base while simultaneously drawing heat away, resulting in a frozen treat․ Proper operation relies on a fully frozen bowl and correct mixing of ingredients, as detailed in included recipes․
Model Identification and Components
Identifying your specific Oster ice cream maker model is the first step․ Common models include the FRSTIC-WDB and various vintage kitchen center attachments․ Key components are the motor base, which powers the churning process, and the freezer bowl, responsible for cooling the mixture․
The dasher, or paddle, agitates the base, incorporating air for a smooth texture․ A lid secures the dasher and prevents splattering․ Some models feature wooden buckets for a classic aesthetic․
Replacement parts, like gears (available via 3D printing as per D Rogers’ design), may be needed over time․ Familiarize yourself with each part’s function for efficient assembly and operation․
Preparing for Ice Cream Making
Successful ice cream requires careful preparation․ Gather ingredients, ensure the bowl is thoroughly frozen, and correctly assemble the maker before initiating the churning process․
Gathering Ingredients and Recipes
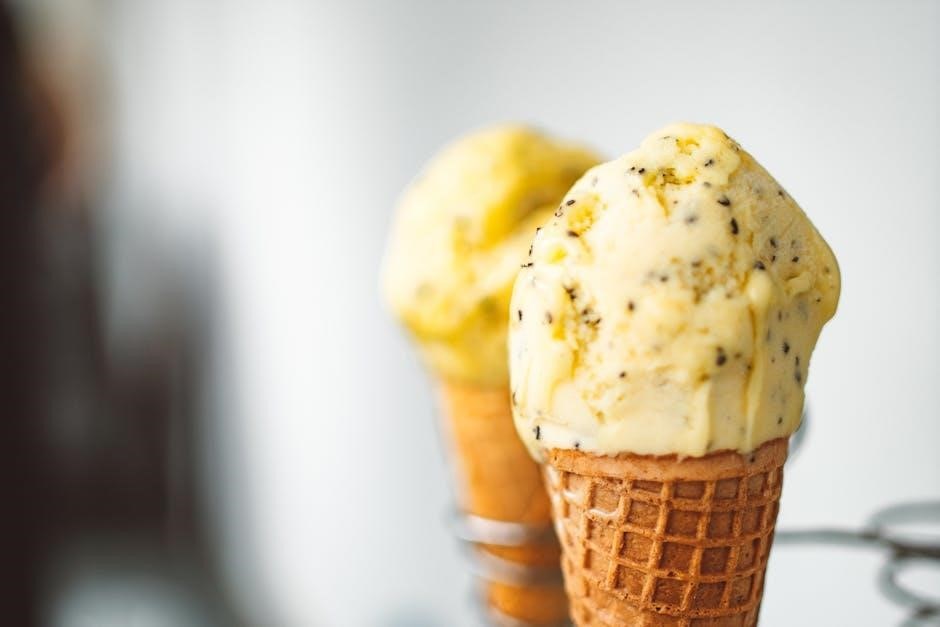
Before you begin, select a recipe and gather all necessary ingredients․ Classic vanilla ice cream is a great starting point, but feel free to explore chocolate variations or even frozen yogurt and sorbet options․
Recipes typically include cream, milk, sugar, and flavorings like vanilla extract or cocoa powder․ Ensure ingredients are fresh and of high quality for the best results․
Consider the specific requirements of your Oster model; some recipes may be optimized for wooden bucket versions or newer electric models․ Online resources and the Oster website (www․oster․com) offer a variety of recipes to inspire your creations․ Remember to accurately measure ingredients for consistent results and delightful homemade ice cream!
Freezing the Bowl: Crucial First Step
Achieving the perfect ice cream consistency relies heavily on a thoroughly frozen bowl․ This is arguably the most critical step in the process․ The bowl must be completely frozen before adding the ice cream base․
Typically, this requires at least 24 hours in the freezer, ensuring it’s placed on a level surface for even freezing․ Avoid interruptions during this period․
Some models may require longer freezing times; consult your specific Oster model’s instructions․ A properly frozen bowl will ensure rapid and effective churning, resulting in smooth, creamy ice cream․ Failure to adequately freeze the bowl will lead to a soupy, unsatisfactory final product․
Assembling the Ice Cream Maker
Proper assembly is key to efficient operation and preventing damage to your Oster ice cream maker․ Begin by ensuring the frozen bowl is securely placed on the base unit․ Align the dasher – the paddle-like component – with the central shaft inside the bowl․
Carefully insert the dasher, ensuring it fits snugly but isn’t forced․ The motor attachment then connects to the dasher, typically clicking into place․
Double-check all connections are secure before proceeding․ Refer to your model’s diagram (often found on www․oster․com) if needed․ Incorrect assembly can lead to motor stalling or uneven churning․ A stable setup is vital for consistent results and safe operation․
Operating Instructions
Follow these steps for optimal ice cream creation: pour the chilled base into the frozen bowl, secure the lid, and initiate the churning process for best results․
Mixing and Pouring the Ice Cream Base
Preparing the ice cream base is a crucial step․ Ensure all ingredients are thoroughly combined according to your chosen recipe – classic vanilla, chocolate, or a frozen yogurt variation․ The mixture should be smooth and consistent before pouring․
Prior to initiating the churning process, verify the freezing bowl is completely frozen, as this directly impacts the final texture․ Carefully pour the prepared ice cream base into the frozen bowl, being mindful not to overfill․ Leave sufficient space at the top to accommodate expansion during churning․
Secure the bowl and lid properly, ensuring a tight fit to prevent leakage during operation․ A properly sealed unit guarantees efficient freezing and a delightful, creamy result․
Initiating the Churning Process
Once the ice cream base is securely in the frozen bowl, connect the bowl to the Oster ice cream maker’s motor base․ Ensure it clicks firmly into place, establishing a stable connection for optimal performance․ Plug the appliance into a grounded electrical outlet, adhering to all electrical safety guidelines․
Activate the churning process by pressing the power button or selecting the appropriate speed setting, if available․ The motor will begin to rotate the dasher within the bowl, gradually freezing and aerating the ice cream base․ Observe the initial stages of freezing; the mixture will thicken as it churns․
Allow the machine to operate undisturbed during the churning cycle, avoiding any attempts to open or interfere with the process․
Churning Time and Consistency
Typically, the churning process takes between 20 to 30 minutes, but this can vary depending on the recipe, ambient temperature, and the initial temperature of the bowl and ingredients․ Monitor the ice cream’s consistency closely during the final minutes of churning․
The ideal consistency is similar to soft-serve ice cream – thick, smooth, and holding its shape, but still relatively soft․ If the mixture appears too liquid after 30 minutes, continue churning for another 5-10 minutes, checking periodically․
Avoid over-churning, as this can result in a grainy or buttery texture․ Once the desired consistency is achieved, immediately remove the bowl from the machine․

Troubleshooting Common Issues
Addressing problems like incomplete freezing or motor stalls is crucial․ This section offers solutions for gear issues and ensures optimal performance of your Oster ice cream maker․
Ice Cream Not Freezing
If your ice cream mixture isn’t freezing properly, several factors could be at play․ First, ensure the bowl is completely frozen – this is the most common issue․ It needs sufficient time, typically 12-24 hours, and should be solid before assembly․
Secondly, verify the ice cream base is adequately chilled before pouring it into the frozen bowl․ A warm mixture will significantly reduce freezing efficiency․ Also, confirm the unit is assembled correctly, with all parts securely in place․
Insufficient churning time can also prevent proper freezing; allow the machine to run for the recommended duration․ Finally, check the ambient temperature – a warm kitchen can hinder the freezing process․ If problems persist, consult the full user guide (FRSTIC-WDB) for detailed troubleshooting steps․
Motor Stalling During Operation
If the Oster ice cream maker motor stalls during operation, it usually indicates excessive resistance․ The most frequent cause is a too-thick ice cream base; ensure your recipe isn’t overly rich or contains large frozen fruit pieces․ Gradually adding the mixture can help․
Check for obstructions within the churning mechanism․ A foreign object or improperly seated components can strain the motor․ Also, verify the bowl is correctly locked into the base, as misalignment can cause friction․
Overfilling the bowl can also lead to stalling․ Adhere to the maximum fill line specified in the user guide (FRSTIC-WDB)․ If the issue continues, a worn gear (see replacement section) might be the culprit, requiring inspection and potential replacement․
Gear Problems and Solutions
Gear issues are a common concern with Oster ice cream makers, particularly older models․ If you notice clicking sounds or the churning mechanism isn’t rotating smoothly, a damaged or worn gear is likely the cause․ Online resources, like Printables․com, offer 3D-printable replacement gears (STL models) for some units․
Inspect the gears for visible cracks or missing teeth․ If a gear is damaged, carefully disassemble the ice cream maker and replace it with a new one․ Ensure proper alignment during reassembly․
Sometimes, the gear bore may require slight drilling to achieve a perfect fit, as noted by users․ Regularly cleaning and lubricating the gears can prolong their lifespan and prevent future problems․

Maintenance and Care
Regular cleaning and proper storage are vital for your Oster ice cream maker’s longevity․ Disassemble and wash components after each use, ensuring gears are dry․
Cleaning the Ice Cream Maker
Thorough cleaning after each use is crucial to prevent bacteria growth and maintain optimal performance․ Begin by disconnecting the ice cream maker from the power outlet․ Carefully disassemble all removable parts, including the dasher, bowl, and lid․
Wash these components in warm, soapy water․ Avoid abrasive cleaners or scouring pads, as they can damage the surfaces․ Rinse thoroughly with clean water and allow all parts to air dry completely before reassembling․ The motor base should be wiped down with a damp cloth – never immerse it in water․
Pay special attention to the gear mechanism, ensuring no ice cream residue remains․ A small brush can be helpful for reaching tight spaces․ Proper cleaning extends the life of your Oster ice cream maker and ensures consistently delicious results․
Proper Storage Techniques
To ensure longevity and hygiene, proper storage of your Oster ice cream maker is essential․ Before storing, confirm all components are completely dry after cleaning․ Store the ice cream maker in a cool, dry place, away from direct sunlight and extreme temperatures․
It’s best to keep the unit in its original packaging if available, or a clean, dust-free container․ Avoid stacking heavy items on top of the ice cream maker, as this could damage the internal components, particularly the gears․
Periodically inspect the unit for any signs of damage or wear․ Proper storage preserves the functionality and extends the lifespan of your beloved ice cream making appliance․
Replacing Worn Parts (Gears)
Over time, the gears within your Oster ice cream maker may wear down, impacting performance; If you notice motor stalling or difficulty churning, gear replacement might be necessary․ Fortunately, replacement gears are often available online, such as through platforms like Printables․com, offering 3D-printed options․
Carefully disassemble the ice cream maker, noting the gear arrangement․ Ensure the new gear precisely matches the original in size and tooth configuration․ You may need to slightly enlarge the bore of a 3D-printed gear for a perfect fit, using a drill․
Reassemble the unit, ensuring proper meshing of all gears․ This restores the ice cream maker’s functionality, allowing you to continue enjoying homemade frozen treats․
Recipes and Inspiration
Explore classic vanilla and chocolate ice cream recipes, alongside options for frozen yogurt and sorbet․ Unleash your creativity with this Oster ice cream maker!
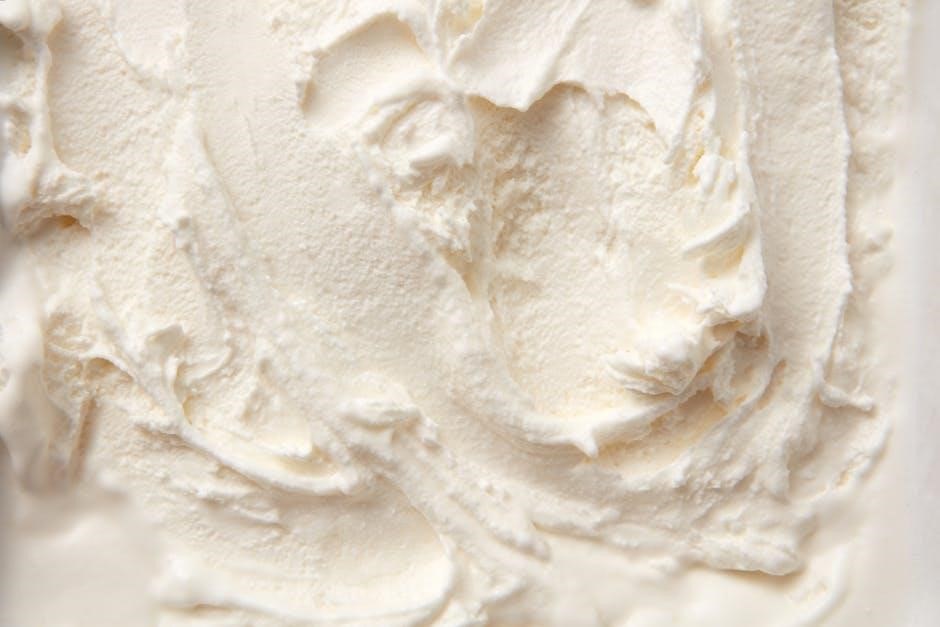
Classic Vanilla Ice Cream Recipe
Ingredients: 2 cups heavy cream, 1 cup whole milk, ¾ cup granulated sugar, 1 tablespoon vanilla extract, and a pinch of salt․ This recipe is a timeless favorite, perfect for showcasing the creamy texture achievable with your Oster ice cream maker․
Instructions: Combine all ingredients in a bowl and stir until the sugar is dissolved․ Pour the mixture into the frozen bowl of your Oster ice cream maker․ Churn for approximately 20-25 minutes, or until the ice cream reaches your desired consistency․
Tips: For a richer flavor, use vanilla bean paste instead of extract․ Allow the ice cream to harden in the freezer for a few hours before serving․ Enjoy this simple yet satisfying treat!
Chocolate Ice Cream Variation
Ingredients: Follow the Classic Vanilla recipe, adding ½ cup unsweetened cocoa powder and ¼ cup granulated sugar․ For a deeper chocolate flavor, incorporate 2 ounces of melted dark chocolate․ This variation transforms a classic into a decadent treat, ideal for chocolate lovers․
Instructions: Whisk the cocoa powder and extra sugar with the heavy cream, milk, and salt․ Add the vanilla extract and melted chocolate (if using)․ Pour into the pre-frozen Oster ice cream maker bowl․ Churn for 20-25 minutes, monitoring for desired thickness․
Enhancements: Consider adding chocolate chips or a swirl of fudge sauce after churning․ Freeze for a firmer consistency before serving․
Frozen Yogurt and Sorbet Options
Frozen Yogurt: Substitute milk with an equal amount of yogurt (Greek yogurt yields a thicker texture)․ Reduce sugar slightly, as yogurt adds tanginess․ Add fruit purees or extracts for flavor․ Churn as you would ice cream, monitoring for desired consistency – typically 20-30 minutes․
Sorbet: Combine 2 cups fruit puree (berries, mango, peach) with ¾ cup water and ½ ⏤ ¾ cup sugar, adjusting to taste․ Stir until sugar dissolves․ Chill thoroughly before churning․ Sorbet generally churns faster than ice cream, around 15-20 minutes․
Tips: For smoother results, strain fruit purees before use․ Experiment with citrus zest or herbs for unique flavor combinations․
Safety Precautions
Always unplug the appliance before cleaning․ Avoid immersing the motor base in water․ Supervise children during operation and follow electrical safety guidelines․
Electrical Safety Guidelines
To ensure safe operation, always verify your outlet voltage matches the appliance’s requirements․ Never operate the Oster ice cream maker with a damaged cord or plug; immediate replacement is crucial; Avoid using extension cords if possible, but if necessary, ensure it’s appropriately rated for the appliance’s wattage․
Do not attempt to repair the appliance yourself; contact Oster customer support (1․800․334․0759 in the USA, 1․800․667․8623 in Canada) for qualified assistance; Keep the appliance away from water sources and avoid operating it outdoors․ Ensure hands are dry before handling the plug․ Proper grounding is essential to prevent electrical shock․ Disconnect the appliance when not in use and before cleaning․
Proper Usage and Handling
Always assemble the ice cream maker correctly before operation, ensuring all parts are securely in place․ Do not overfill the freezing bowl, leaving sufficient space for expansion during churning․ Avoid continuous operation for extended periods; allow the motor to rest as needed to prevent overheating․
Never insert foreign objects into the appliance while it’s running․ Use only the provided tools for mixing and pouring the ice cream base․ Handle the frozen bowl with care, as it becomes extremely cold during the freezing process․ Be mindful of moving parts during operation․ Do not attempt to disassemble beyond the recommended cleaning procedures․

Warranty Information
Oster provides warranty details for its ice cream makers, with customer support reachable at 1․800․334․0759 (USA) or 1․800․667․8623 (Canada)․
Oster Warranty Details
Oster’s warranty coverage for ice cream makers, like the FRSTIC-WDB model, typically includes protection against defects in materials and workmanship under normal household use․ The standard warranty period is often one year from the date of original purchase․ This warranty doesn’t cover damage resulting from misuse, accidents, unauthorized repairs, or commercial use․
To make a warranty claim, retain your proof of purchase and contact Sunbeam Consumer Service․ They will guide you through the process, which may involve returning the product for inspection or repair․ The warranty is non-transferable and applies only to the original purchaser․ Modifications or alterations to the product void the warranty․ Refer to the official Oster website (www․oster․com) for the most current and comprehensive warranty information specific to your model․
Contacting Customer Support
For any questions regarding your Oster ice cream maker, or assistance with operation, troubleshooting, or warranty claims, Sunbeam Consumer Service is readily available․ You can reach them via phone at 1․800․334․0759 for customers in the USA, and 1․800․667․8623 for those in Canada․
Alternatively, visit the official Oster website at www․oster․com․ The website provides a wealth of resources, including frequently asked questions, downloadable manuals (like for the FRSTIC-WDB model), and online support forms․ When contacting support, have your model number and proof of purchase readily available to expedite the process․ Prompt and helpful assistance is offered to ensure a satisfying ice cream making experience․